Once you’ve followed this guide up to Step 5, you can move on to the next step of our own guide.
Step 2
Getting your data to your Kafka Server
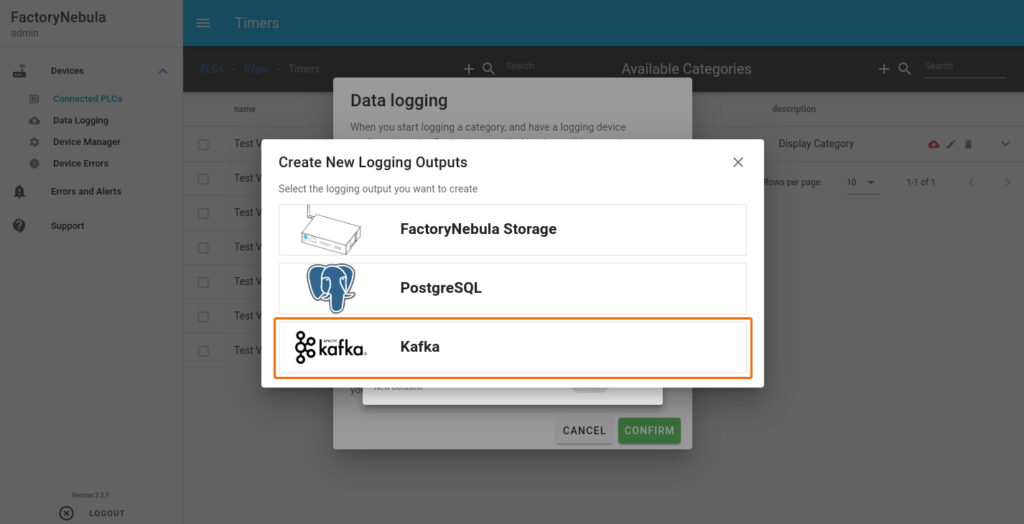
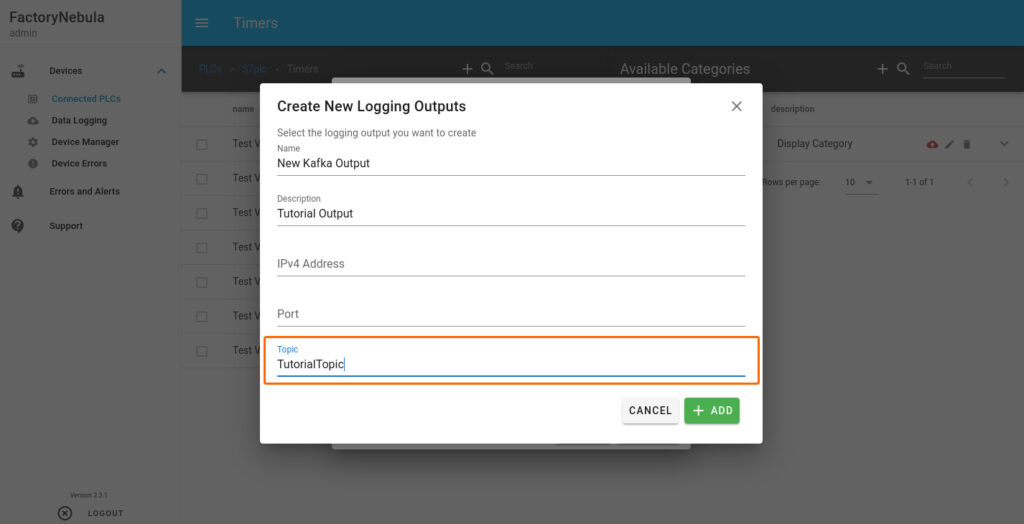
Navigate to the PLC you want to log, select the category you want to log and click the ‘logging’ icon (cloud with an arrow). If you’re struggling with these steps, please look at our configuration guide. In the logging screen, create a new Kafka Datasink.
In this screen, enter the parameters of your newly created Kafka Server. Make sure your IP and Port are correct, and the Topic matches the Topic you’ve defined in the tutorial (default: TutorialTopic).
Step 3
Looking at your data
Once you’ve linked your new datasink to you category, your data is now being sent to your kafka server. You can see the data sent to the server using the following command: